Looking to add some extra flair to your crochet projects? Check out this easy guide on how to crochet a bee! This fun and unique craft can be done in a few simple steps, and will give your projects a little bit of personality. following the easy crochet instructions will help you create a bee that is both unique and cute.
There are a few things that you need in order to crochet bees. The first thing you will need is some yarn. Heavier yarn will make the bee more durable and it will also increase its size of the bee.
Second, you will need a hook. A standard hook can do most of the work for you, but if you have a hard time finding a hook, consider using a crochet hook made specifically for bees.
What is Crochet?
Crochet is a type of knitting that involves taking pieces of yarn and looping them together to create a structure. This can be done in a variety of different ways, but the most common way to crochet is with a crochet hook. Crochet can also be used for other objects, such as hats, scarves, and gloves.
What is embroidery? embroidery is another type of knitting. It involves stitching tiny bits of fabric together to create a pattern. The stitches in embroidery are done with a needle and thread, and they can be done by hand or machine.
Crochet Bee
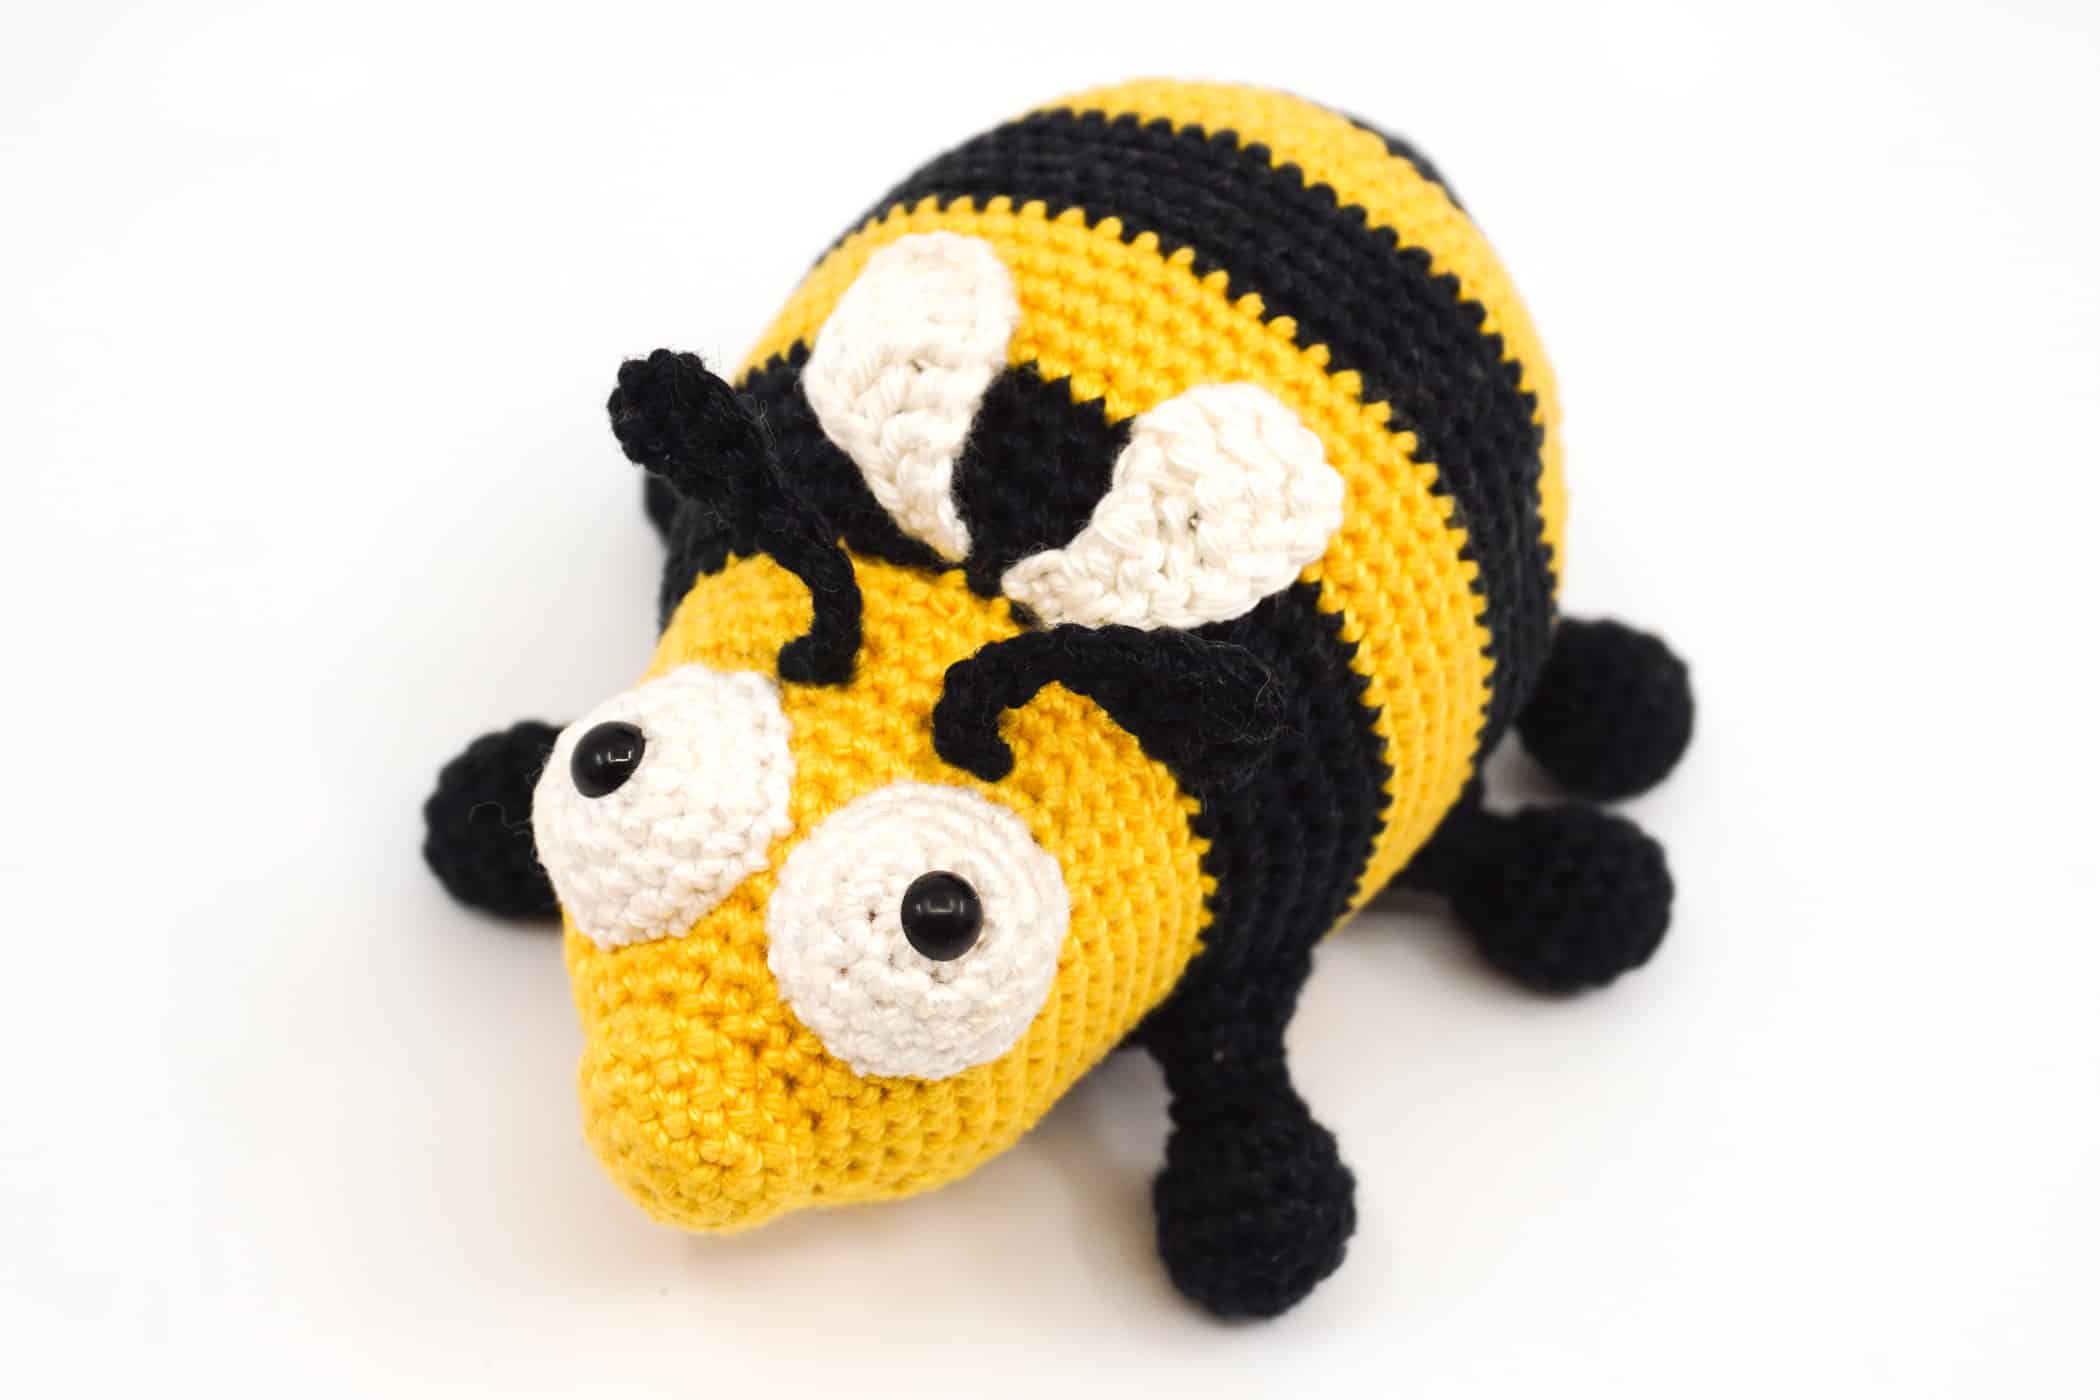
Crocheting a bee is a fun and easy project that can be enjoyed by all. There are various crochet patterns that can be followed to create beautiful bees, but the most popular way to crochet a bee is by using the magic ring. To begin, take a piece of yarn and make a small loop with it.
Then, use the front loop to crochet in the back loop of the previous loop, making sure to keep the loops together. This will create your body of the bee. Next, use different colors of yarn to create different parts of your bee.
For example, you might use green for its wings and blue for its head. Once you have created these parts, make sure to pay attention to how they look before trying to crochet them together. How to crochet a bee
How to Crochet a Bee
Crocheting a bee is a fun and rewarding project that can be done by anyone. There are many ways to crochet a bee, and there are many different colors and patterns to choose from.
There is no one way to crochet a bee, and there are no specific instructions or tips that you need to follow in order to crochet a bee.
However, some tips on how to crochet a bee will help make the process easier. How to crochet a bee: The first step is to decide what color you want your bee to be.
A complete listing of how to crochet a bee. This is a good idea because it will help you determine what color to use. You can also find many different colors, since all of the colors of the bee are variations of red, so there are many options.
The second step is to decide how tall your bee should be. If it is a large bee, make sure you have enough yarn to make it. If you have more than one skein of yarn, use the largest skein for your first row.
If you have only one skein of yarn, use the second skein for your first row. If you have more than one skein of yarn, make sure that you start with the middle and work your way back to the end.
Once you have determined the height of your bee, decide how many rows you want in a circle. It is important to use enough yarn so that the bee covers all of the stitches on your needle. The size of the bee will depend on how big it needs to be.
If you want a large bee, you may need to make two or more skeins of yarn. If you are having trouble with the size of your skein, try using different colors. Be sure that each color has enough yarn to cover all of the stitches on your needle.
If you are not sure about your skein, you can always use the end of a skein to determine the size. For example, if you have a skein of super bulky yarn, cut it into two pieces and make two smaller sizes. This will help you determine the size of your skein.
Once your skeins are all made, you are ready to begin. The first step is to put the bee on your needle by threading it through the eye of the needle. Then pull the needle through the skein until you have a stitch. Do not pull it through all the way.
This is the first stitch. Once you have your stitch on your needles, do not let go of them. You will want to repeat this step for each row until you get to the end of the skein. When you get to the end of your skein, untie your knot.
Now that you have the skein untied, cut it into two smaller sizes. The next step is to pull your needle through each stitch on your work surface and un-knot them. If you have been working with the same color yarn, you will want to pull your needle through each color of yarn.
Once you have all the colors pulled through, untie your knot and cut the skein in half. Now it is time to cut your skein into two smaller sizes!
When crocheting a bee, it is important to be careful not to crochet yarn over the edge of the hook. This can create an uncomfortable fit for the Bee’s body, and it can also cause the Bee’s body to get twisted around the wire hoops.
If you accidentally Crochet yarn over the edge of the hook, gently untwist the chain before continuing with your project.
Conclusion
Crochet is a fun activity that can be enjoyed by everyone. There are so many different crochet stitches that you can try, and there are many different colors to choose from. If you’re new to crocheting, it’s important to learn the basics first so that you can create something beautiful and unique.